Job 1: The Stain That Moved
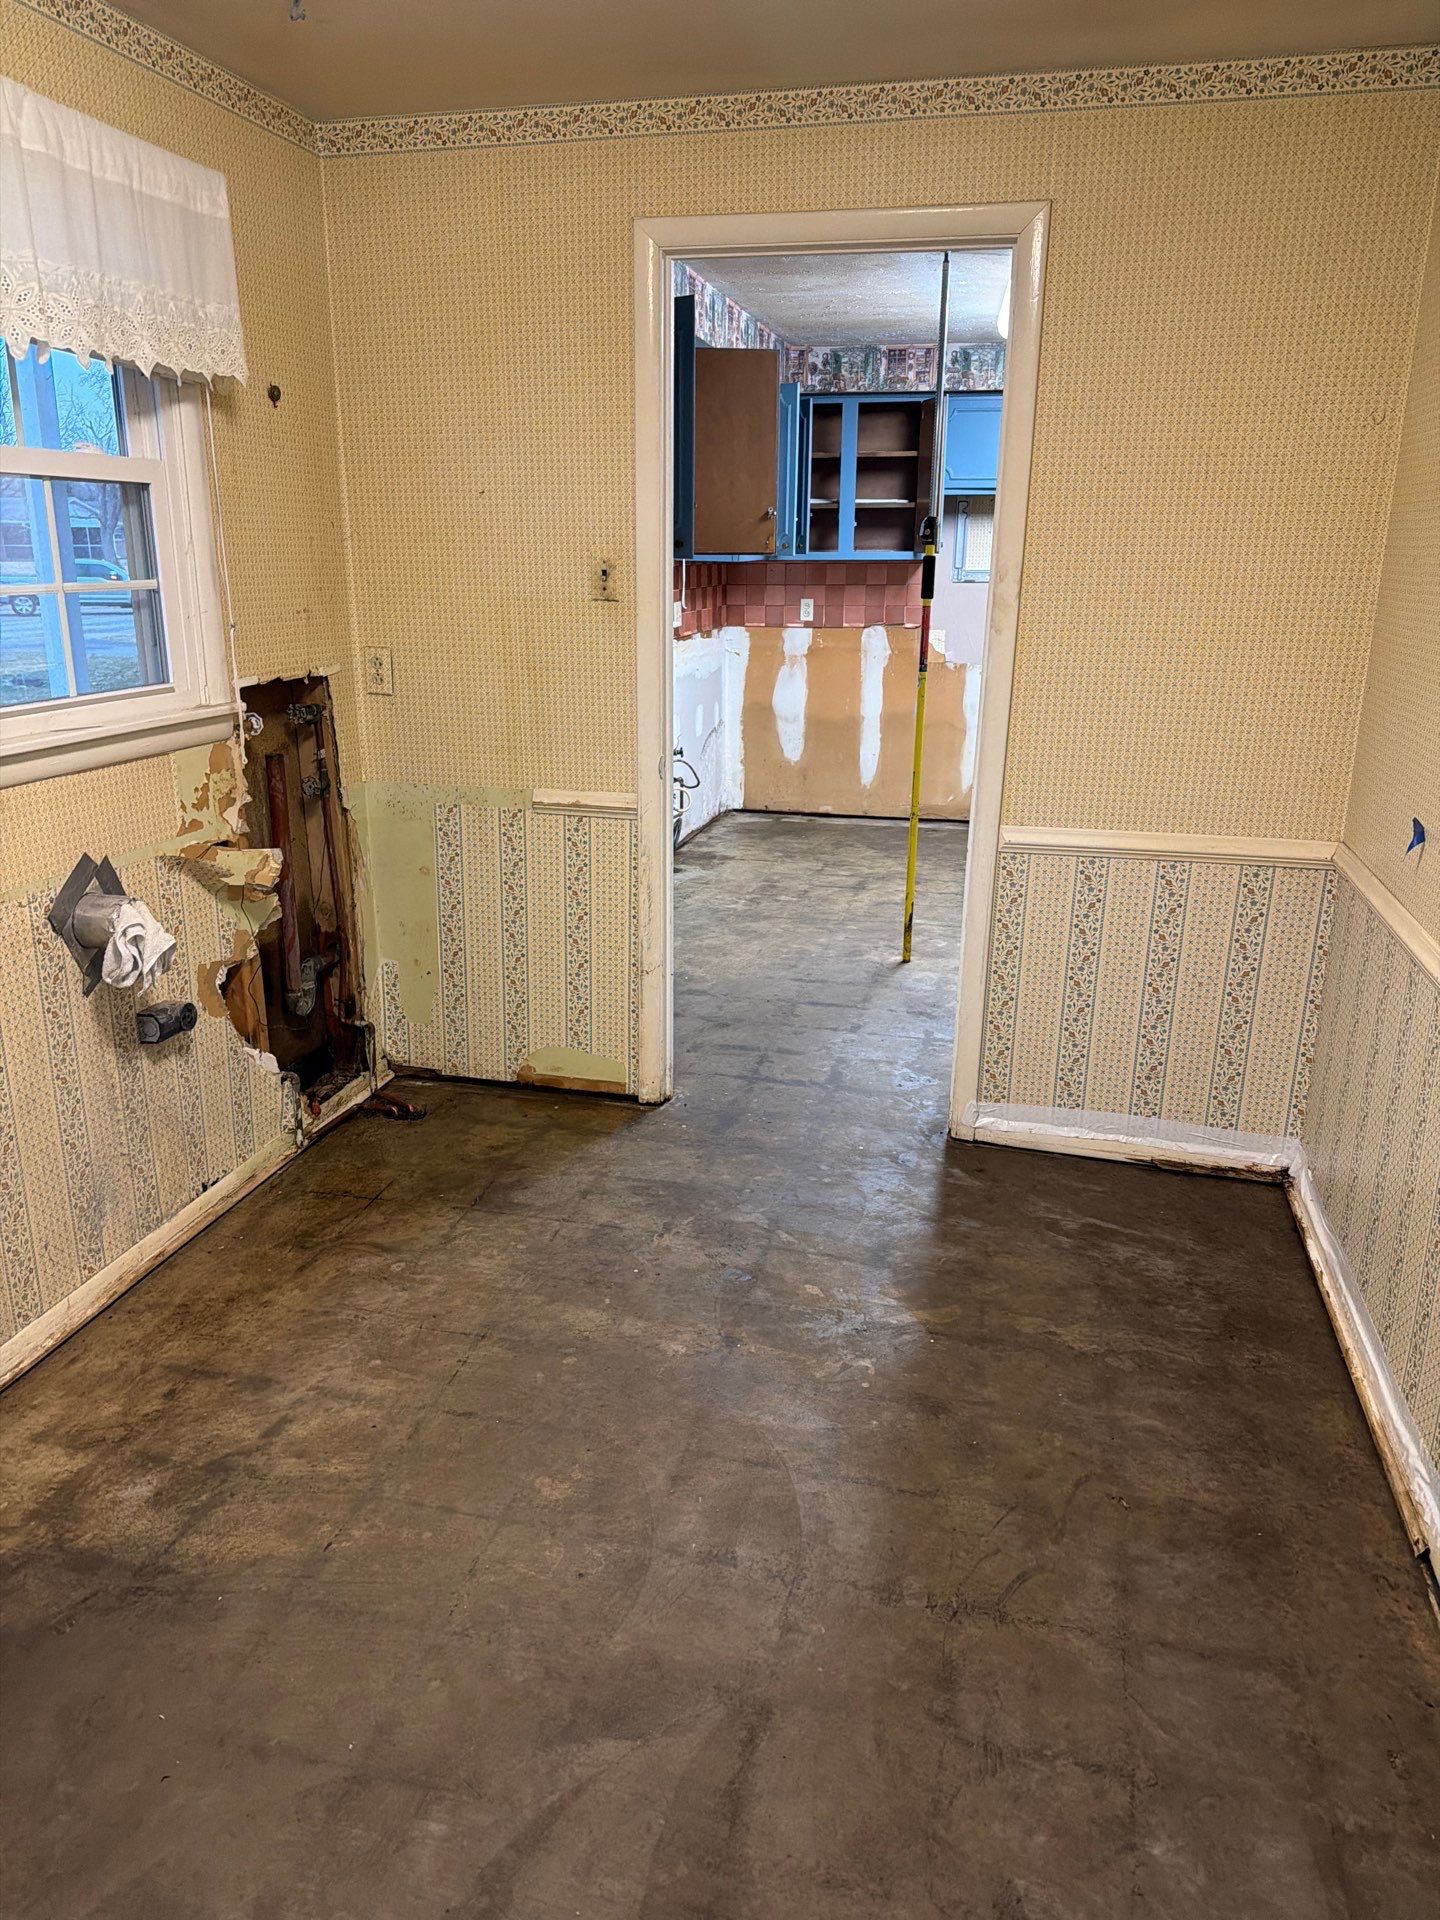
Ranch home, north side of Sweet Briar, built in 1978. The homeowner called because a brown ring appeared on the kitchen ceiling, then a second ring showed up six feet away two days later. Her plumber wanted to open the ceiling in three spots. I ran a thermal camera across the joist bays first and saw a cool plume tracking along the top plate of an interior wall. The actual leak was a pinhole in a copper line eight feet from the visible stain. Water was riding the framing before it fell. We opened one 6 by 6 inch square instead of three feet of ceiling. The repair cost dropped by about seventy percent.
The lesson I write in my notes: stains lie about location. Always. Thermal imaging shows the path, not just the puddle, and our moisture mapping with thermal imaging approach has saved more drywall than any other tool in the truck.
One more detail from that job worth recording. The pinhole was on the cold line directly above a recessed can light. The fixture housing acted like a funnel, catching the drip and channeling it laterally along the joist. If a homeowner ever calls me and says the stain appeared near a light fixture, I now assume the fixture is misleading me until thermal proves otherwise. Recessed cans, bath fans, and HVAC boots all create false destinations for traveling water.
Job 2: The Quiet Slab
Two story in a newer Sweet Briar subdivision, post tension slab. The homeowner heard nothing, saw nothing, but the water bill jumped from 4,000 to 11,000 gallons in one month. We shut every fixture, watched the meter spin, and confirmed an active leak. Acoustic listening at the manifold picked up a faint hiss near the master bath wall. Tracer gas (a hydrogen and nitrogen blend) pushed through the line found the exact spot in twenty minutes. The leak was under the slab, not in the wall, and we documented it for the plumber without breaking a tile. If you suspect a foundation issue, the slab leak detection guide walks through the same process in more detail.
The Sweet Briar Water Restoration dispatcher had a crew on site within 2 hours of the homeowner's call, which mattered because the meter was still spinning and every hour was costing her money. I mention timing because non invasive detection is not just about saving drywall. It is about closing the loop on an active loss before it doubles in size.
Job 4: When Demolition Was the Right Call
I include this one because honesty matters. Townhome in Sweet Briar, shared wall with a neighbor, water bubbling through the paint. Thermal showed heat everywhere because the leak was on a hot water line and the cavity had been wet for weeks. Moisture readings were saturated across an eight foot run. The borescope showed visible mold colonies on the back side of the drywall. At that point, non invasive detection stops being the goal. The wall has to come out, partly to find the leak, mostly because the materials inside are no longer salvageable. We told the homeowner straight: you do not need a fancier camera, you need a controlled demolition and proper drying. Sometimes the kindest answer is the direct one.
The Quiet Tells I Look For Before Cutting
Most homeowners do not realize how much information their house gives away before any tool comes out of the bag. Warped baseboard trim that pulls slightly off the wall. Paint that has a faint sheen difference in one rectangular zone. A nail head popping through drywall in a single spot. The smell of damp cardboard near a cabinet kickplate. Hardwood that cups along one board but not its neighbors. I walk every job slowly before I plug anything in. Half the time, the wall tells me where to start scanning, and the meters just confirm what my eyes already noticed. That walk through usually takes ten minutes and saves an hour of guesswork.
Job 3: The Wall That Was Already Wet
Older bungalow near downtown Sweet Briar, plaster on wood lath. Owner reported a musty smell in the guest room. I pulled out the moisture meter, ran the pin probes along the baseboard, and got readings of 28 to 34 percent in a four foot section. Behind plaster, thermal is less reliable because the material holds temperature differently than drywall. So I switched tools. A borescope through an existing outlet box showed the back of the wall cavity was black with biofilm. The leak was a slow supply line drip behind a vanity in the adjacent bathroom. We never cut the bedroom wall at all. The bathroom side got a controlled access cut, the line was repaired, and the remediation followed S520 protocols because microbial growth was already established.
I keep a note in my truck binder about plaster homes: pin meters first, thermal second, borescope third. The order matters because plaster will fool a thermal camera every time. Lath creates air gaps, horsehair binder holds moisture unevenly, and the surface temperature can read normal even when the cavity is soaked. Pin meters cut through the guesswork.
Field Notes Decision Checklist
Before any cut gets made in your Sweet Briar home, run through this:
- Has the meter test confirmed there is actually an active leak rather than a one time event?
- Has thermal imaging been run on every suspect wall, with the HVAC system off for at least thirty minutes for a stable baseline?
- Have moisture meter readings been logged at multiple points and mapped, not just spot checked?
- Is there an existing access point (outlet, register, cabinet penetration) that a borescope could use instead of a fresh cut?
- If microbial growth is suspected, has the technician explained why mold growth timelines change the strategy?
- Has the tech told you, in plain language, what the smallest possible access cut would look like and where it would go?
- Did anyone ask about the age of the plumbing, the water pressure, and recent freeze events before grabbing a saw?
- If the leak is confirmed but the source is unclear, has a Sweet Briar Water Restoration crew been dispatched (in most cases within 2 hours) to start documentation before the cavity dries and hides the trail?